Collections & the Tree
The left panel is where your requests live. Rest Hippo organizes them into collections (top-level groups) containing folders and requests, nested as deeply as you like.
Collections
A collection is a self-contained group of requests with its own variables and an optional cookie jar. The active collection is shown in the collection selector in the panel's toolbar (the row with the + buttons), on the right — a stacked-layers icon plus its name (e.g. Demo API) — sitting next to the environment picker.
Click the collection selector to open the Collections manager, where you create, rename, switch, and delete collections:
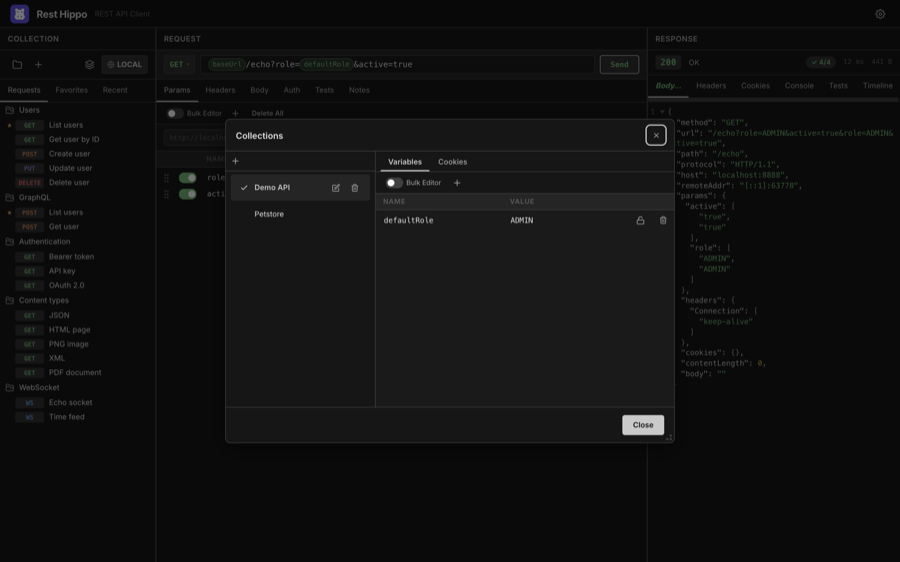
- + — create a new, empty collection.
- Click a collection row to make it active; a check marks the active one.
- The pencil and trash icons (or a double-click on the name) rename and delete a collection. Deletes ask for confirmation.
- The Variables and Cookies tabs on the right edit that collection's variables and stored cookies.
Folders and requests
Inside a collection you build a tree of folders and requests:
- New Request — the + button above the tree, or right-click a folder → Add Request.
- New Folder — right-click a collection or folder → Add Folder.
- New WebSocket Request — right-click a folder → Add WebSocket Request, or right-click the + button above the tree and choose Add WebSocket Request (see WebSockets).
- Reorder / re-nest — drag a request or folder to move it; a placeholder shows where it will land.
- Rename — double-click the name (or right-click → Rename). Enter confirms, Esc cancels.
- Filter — click anywhere in the tree and press Cmd+F (Ctrl+F on Windows/Linux) to reveal a filter box above the list; type to filter requests by name. Esc hides it and clears the filter.
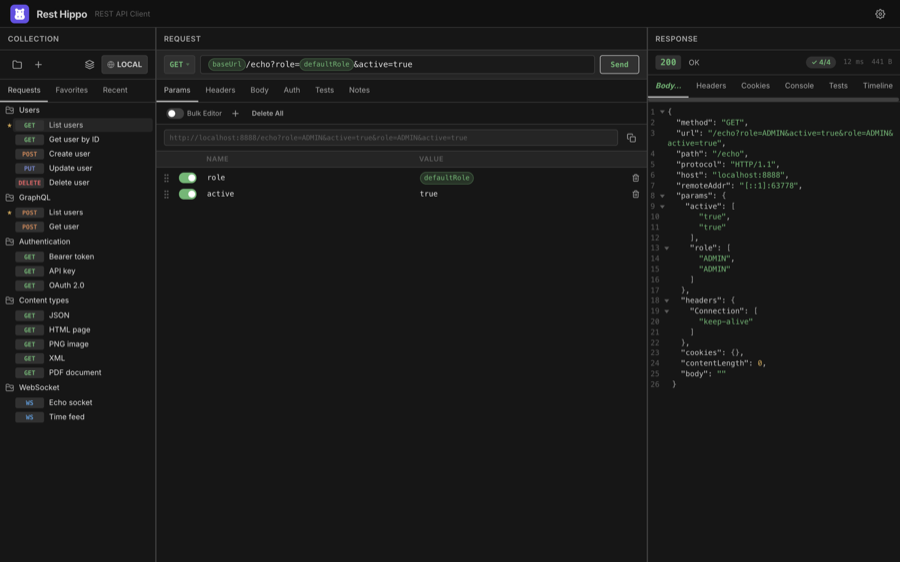
Each request shows a colored method badge (GET, POST, PUT, DELETE, …). You can switch these badges to compact icons in Settings → Appearance.
The right-click menu
Right-clicking a request or folder opens a context menu with the most common actions:
| Action | Applies to | What it does |
|---|---|---|
| Add Request / Add WebSocket Request / Add Folder | folders | Create a child item |
| Run All Requests | folders | Run every request in the folder and tally their tests |
| Rename | both | Edit the name inline |
| Favorite / Unfavorite | requests | Toggle the Favorites star |
| Duplicate | both | Copy the item (and its contents) |
| Generate code… | requests | Preview the request as cURL, JavaScript fetch, Python requests, Go, or HTTPie, then copy |
| Copy as cURL | requests | Copy an equivalent curl command straight to the clipboard |
| Export… | collections | Export the collection |
| Variables | collections, folders | Edit variables for that scope |
| Clear Run History | requests | Discard the request's saved timeline |
| Delete | both | Remove the item (asks to confirm) |
Running a whole folder
Right-click a collection or folder and choose Run All Requests to send every request inside it — including those in nested sub-folders — one after another. WebSocket requests are skipped (they hold an open connection rather than running once). The entry is greyed out when the folder has nothing to run.
As the run proceeds, a small pass/total badge appears on the folder row and
counts up live — for example 7/10 means seven of ten
tests have passed so far. Both the no-code
Tests assertions and scripted hippo.test() calls count
toward the total. When the run finishes the badge settles to its final tally and
turns green if every test passed, or red if any test failed (or a request
could not be sent). Hover the badge for a summary, and a toast reports the result.
Nested folders roll up. Every folder in the run gets its own badge: each
sub-folder shows the tally for just its own requests, while the folder you
clicked rolls up its immediate requests plus everything in its sub-folders.
So running a folder of three requests that also contains a sub-folder of two
requests shows 2/2 on the sub-folder and 5/5 on the parent.
Clearing the counts. Once a folder shows a badge, its right-click menu gains a Clear Test Counts entry just below Run All Requests (it is hidden when there is no badge). Choosing it removes the badge from that folder and every sub-folder beneath it. This only resets the on-screen counts — each request's recorded timeline is left intact.
Requests run in order, sharing the collection's cookie jar, and any variables they capture or scripts write are applied before the next request runs — so a folder that logs in first and reuses the captured token in later requests works as expected.
Each request is treated exactly as if you had opened and sent it yourself: the run is saved to that request's timeline (with its test results), and selecting the request afterwards shows its latest response, console, and Tests tab. The response viewer is not switched while the folder runs — open any request when it finishes to inspect its recorded run.
Folders whose requests use OAuth 2.0 are the one exception: that flow needs the interactive token popup, so those requests are sent without it during a folder run. Send them individually from the editor when you need a fresh OAuth token. The badge is a live, in-session indicator — it clears when you restart Rest Hippo or run the folder again.
Favorites and Recent
Two extra tabs sit above the tree and span all your collections:
Favorites — requests you've starred for quick access. Star a request from its right-click menu, then drag to reorder them.
Recent — the requests you've used most recently, newest first. This list is maintained automatically.

Prefer not to see the Recent tab? Turn off Show recents in Settings → Appearance.
Cookies
Each collection has its own cookie jar. When Send cookies is enabled for a collection, cookies returned by responses are stored and automatically attached to matching later requests in that collection. Manage the jar from the Cookies tab in the Collections manager, and inspect cookies a response set on the Cookies tab of the response viewer.
Next: Building Requests →